Typesetting takes your LaTeX (or markdown) source code and outputs the formatted PDF, highlighting if necessary any errors in your code. In simplest terms, the typeset process takes a .tex file and produces a PDF document from it,

In Texifier, the editor containing the LaTeX source code (i.e., your .tex file or files) and the output PDF live side-by-side, making it easier for you to visualise the output of the text you’re composing.
Since LaTeX is akin to a programming language and programs can contain errors while they’re being written and fine-tuned, this process may report certain errors. Texifier’s displays these errors in an easy-to-navigate table in its Sidebar. Clicking on these errors will take you to the offending line of LaTeX code, making it easier to quickly fix errors and continue writing.
In advanced use cases where bibliographies, indices and other types of content is involved, the typeset process can get rather complex, requiring multiple, precise calls to various LaTeX tools.
Texifier makes the process of typesetting as simple as it can be: a single button (or a key combination
Texifier on iOS includes TexpadTeX, an on-board typesetter capable of handling majority of your LaTeX documents.
Local Typesetting
The local typesetter is built upon a Texifier’s own LaTeX distribution that runs natively on your iPad, iPod or iPhone. This provides a fast Typesetting option that doesn’t need an internet connection’. The local typesetter is also capable of typesetting BibTeX. If a BibTeX file is detected in your project, Texifier will automatically run it (in the sequence LaTeX, BibTeX, LaTeX, LaTeX).
Please note that the list of packages that comes bundled with Texifier for the use of the local typesetter is not as comprehensive as the full set of LaTeX packages that are part of a full desktop distribution such as TexLive or MikTeX. Adding all these packages to Texifier iOS not only would be unnecessary, but also result in a very large sized app. To address this issue, Texifier uses a LaTeX Bundle Manager (LBM) to deliver the extra packages. See the Settings section for more details.
Cloud Typesetting
Cloud typesetting is done on Texifier’s free cloud servers. The cloud typesetter packages your LaTeX source code and send it over a secure (HTTPS) connection to our servers where the files are typeset, and the PDF and the log are sent back to your device.
Once the typeset operation has completed, we delete user files off our servers immediately, regardless of the outcome of the typeset. The servers are secure, the files are transferred securely and we will never read or share your work. If this is not sufficient security for you then we are in the process of open sourcing the typesetting server so that you can typeset on your own secure server, please get in contact if you need this.
Cloud typesetting may be customised by using alternative typesetting chains via preferences. These include, XeLaTeX, pLaTeX (for Japanese) and tools for compiling through DVI and PostScript routes.
Only the files that are included in the outline view will be sent to the cloud typesetter, occasionally Texifier will not pick up every file you have included (for example if you have put the \includegraphics command inside a custom command. In this case you can force Texifier to include that file by adding a comment line (starting with a %) of the form force-texpad-dependency: something.file where you replace something.file with the necessary path name.
Miscellaneous Notes on Typesetting in Texifier iOS
Setting paper size with TeX
To set paper size with LaTeX it is necessary to set the paper size in both the document class and also in the geometry line. One of these changes the layout of the document to fit an a4 page, the other sends a message to the pdf generating toolchain to change the page size.
\documentclass[a4paper]{article}
\usepackage[a4paper]{geometry}
\begin{document}
Your document here
\end{document}
Typesetting EPS files with Texifier iOS
Due to the lack of a PostScript interpreter on iOS, Texifier iOS is currently unable to typeset eps figures with it’s local typesetter. Texifier iOS is capable of typesetting eps figures in the cloud, and Desktop Texifier is capable of typesetting all figures, including EPS.
If you want to typeset vector graphics locally on your iOS device, then please export as a PDF rather than as an EPS. PDFs can be included the same as any other graphics file, using the graphicx package, and \includegraphics{}.
Cloud typesetting failures with no log returned
Occasionally a cloud typeset job will get “stuck” in the cloud and fail to complete. In this case there is neither a TeX log, nor a pdf to return to the user.
Usually this happens because TeX hangs and doesn’t return to the cloud typesetter. For the cases we have looked into, this seems to mainly occur with pdfLaTeX, and switching engine to XeLaTeX solves the problem.
NB Prior to 1.5 this would give a “http 0” error.
bbm numerals with Texifier iOS internal typesetter
The bbm package used to write double stroked numerals common in many mathematics and physics papers uses “bitmapped fonts”, an old technology we have deprecated in Texifier’s internal TexpadTeX typesetting engine.
Why?
A bitmapped font specifies a character as an array of solid squares. These do not scale smoothly as you zoom, and they are not compatible with modern antialiasing techniques. Consequently, they do not display at the same high quality that TeX users are used to, and they have been deprecated both in and outside the TeX world in favour of vectored fonts, which look great at any size.
What is the replacement
These numerals can be rendered with high quality, modern vectored fonts via the dsfonts package. For example:
\documentclass{article}
\usepackage{dsfont}
\begin{document}
	$\mathds{1}$
\end{document}
Typesetting languages
LaTeX Bundle Manager provides a means to download necessary packages to typeset documents in various languages supported in LaTeX.
What language bundles are supported?
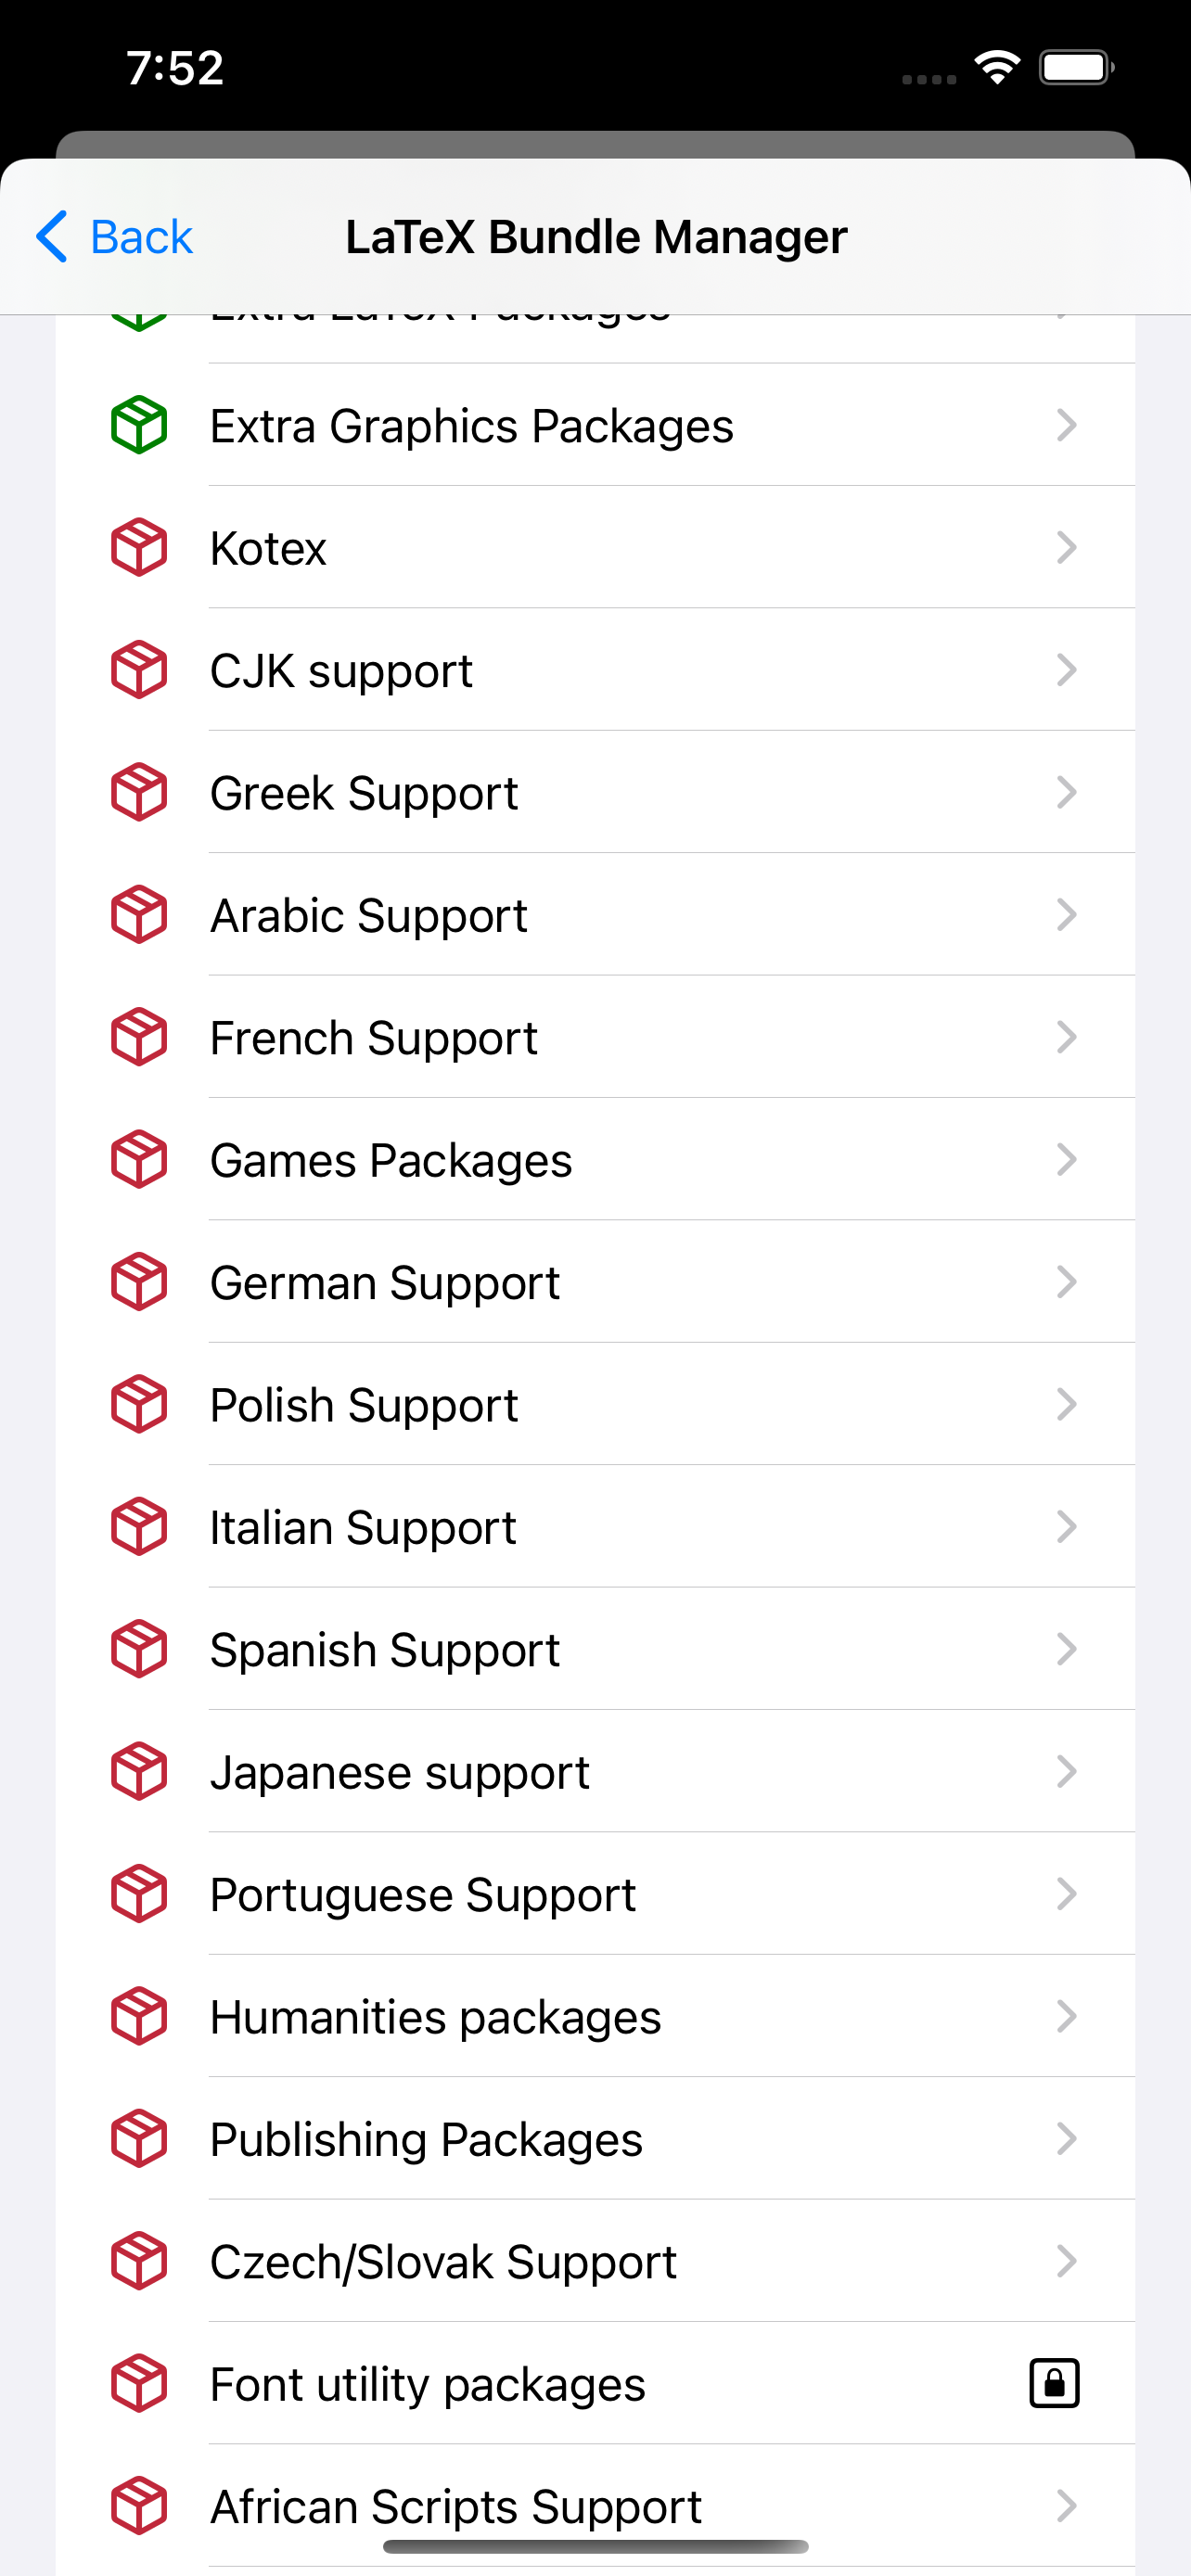
Language bundles are listed in the alphabetically-sorted list in the bundle manager, accessed via the Settings’ section in the main menu of Texifier for iOS. An excerpt of that table is shown below:

How do I install the bundle for my language?
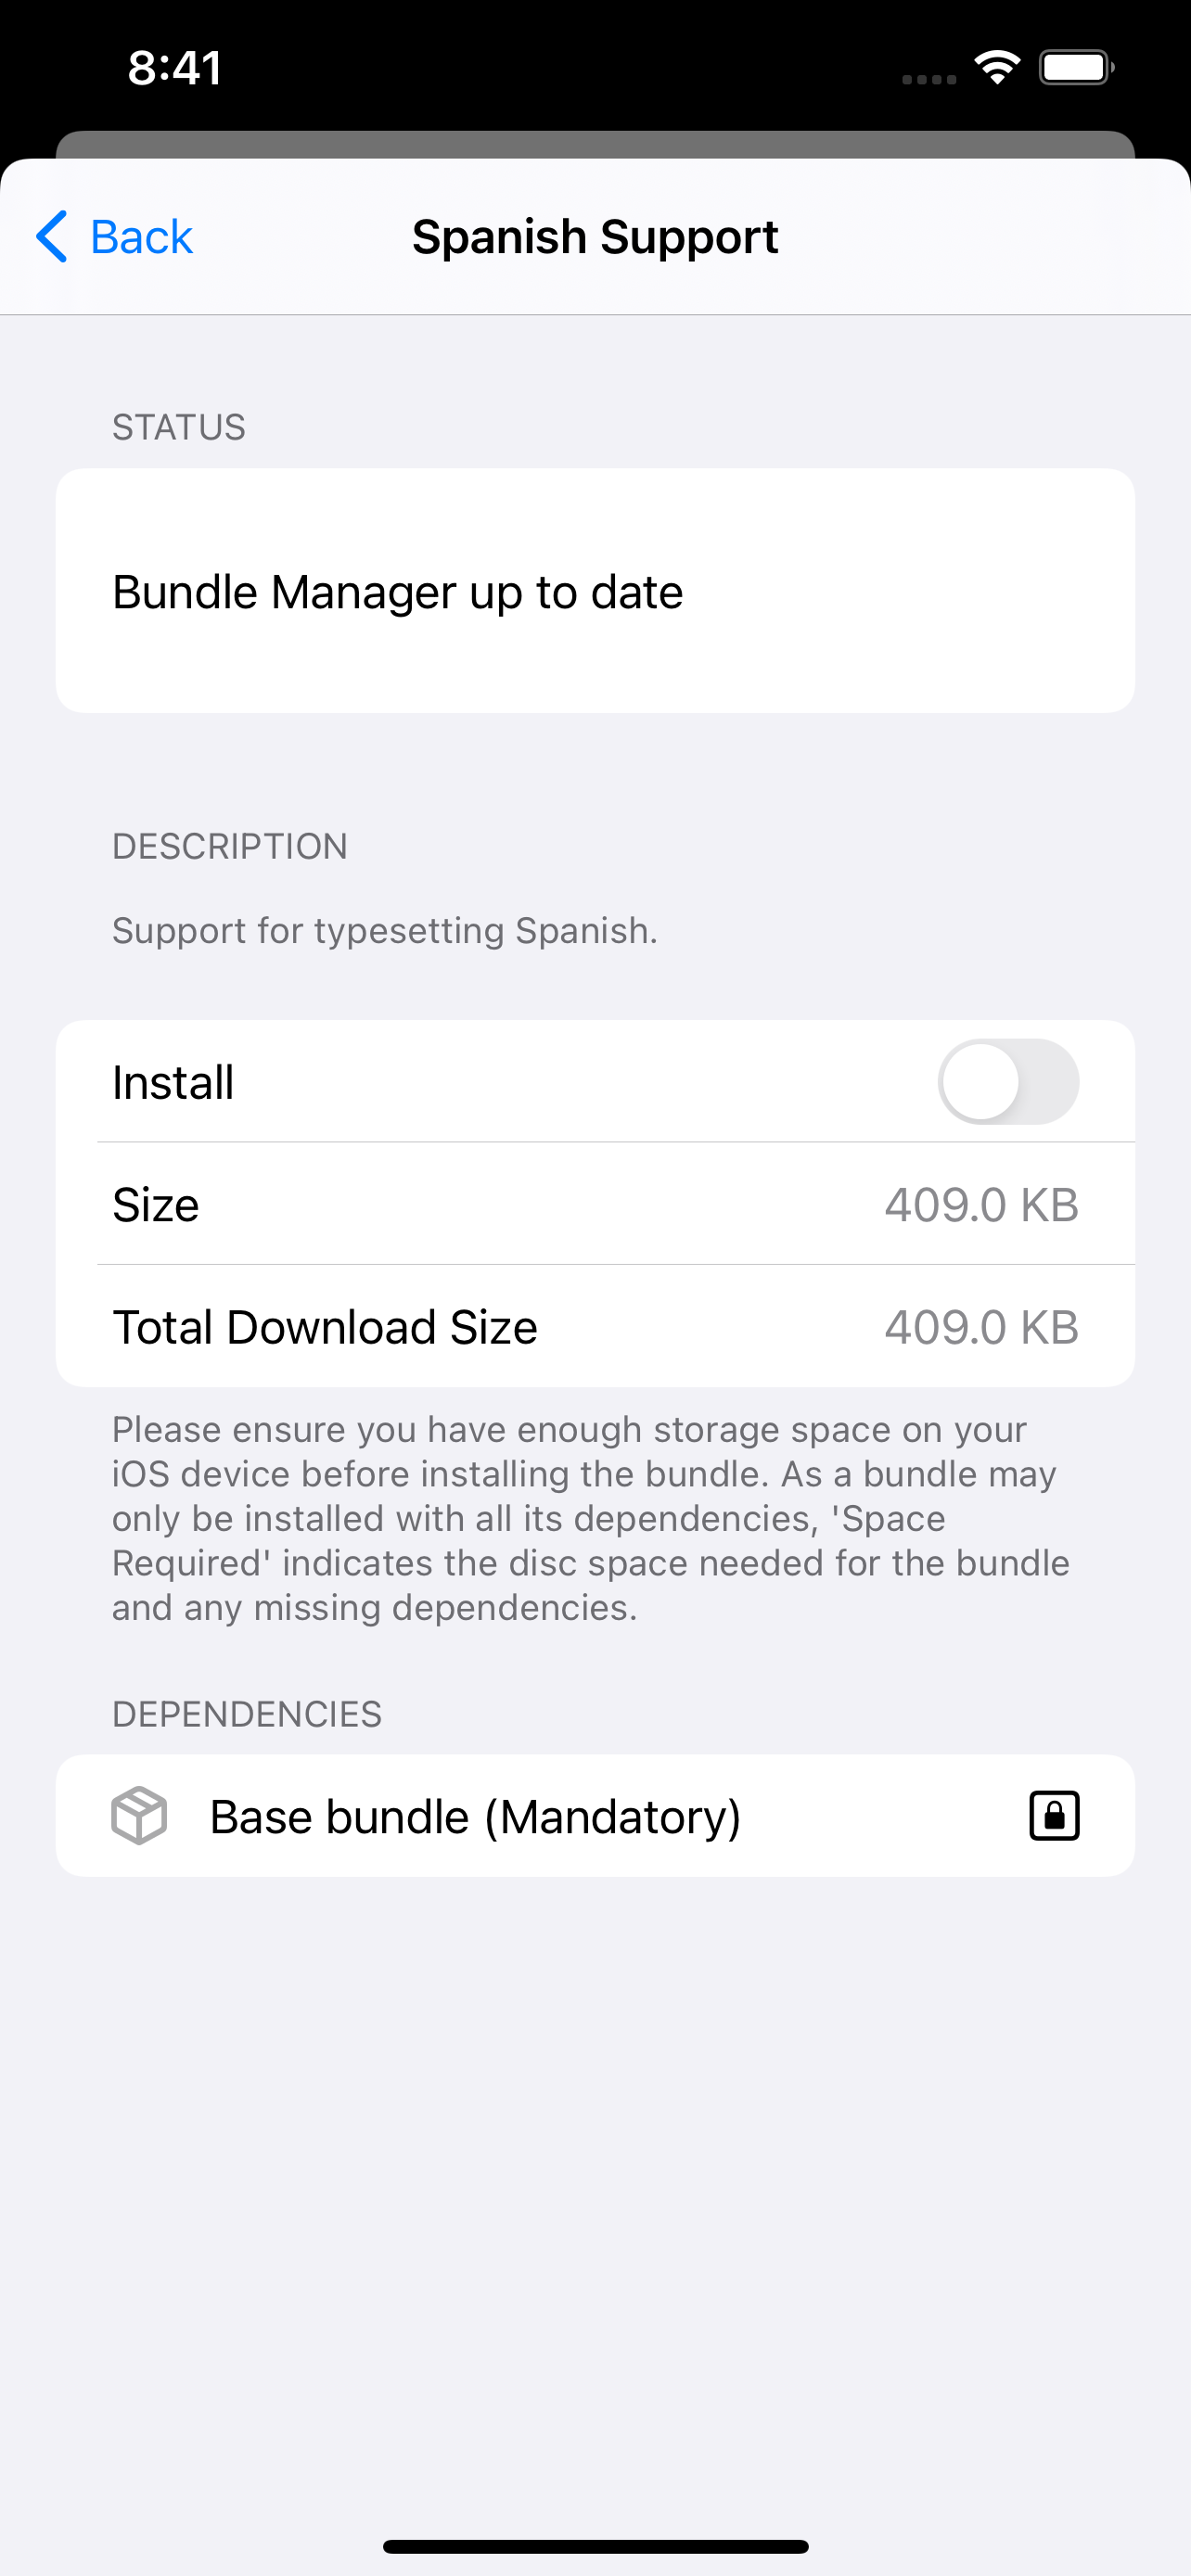
You simply have to select the bundle for your language. For Spanish, you’ll see

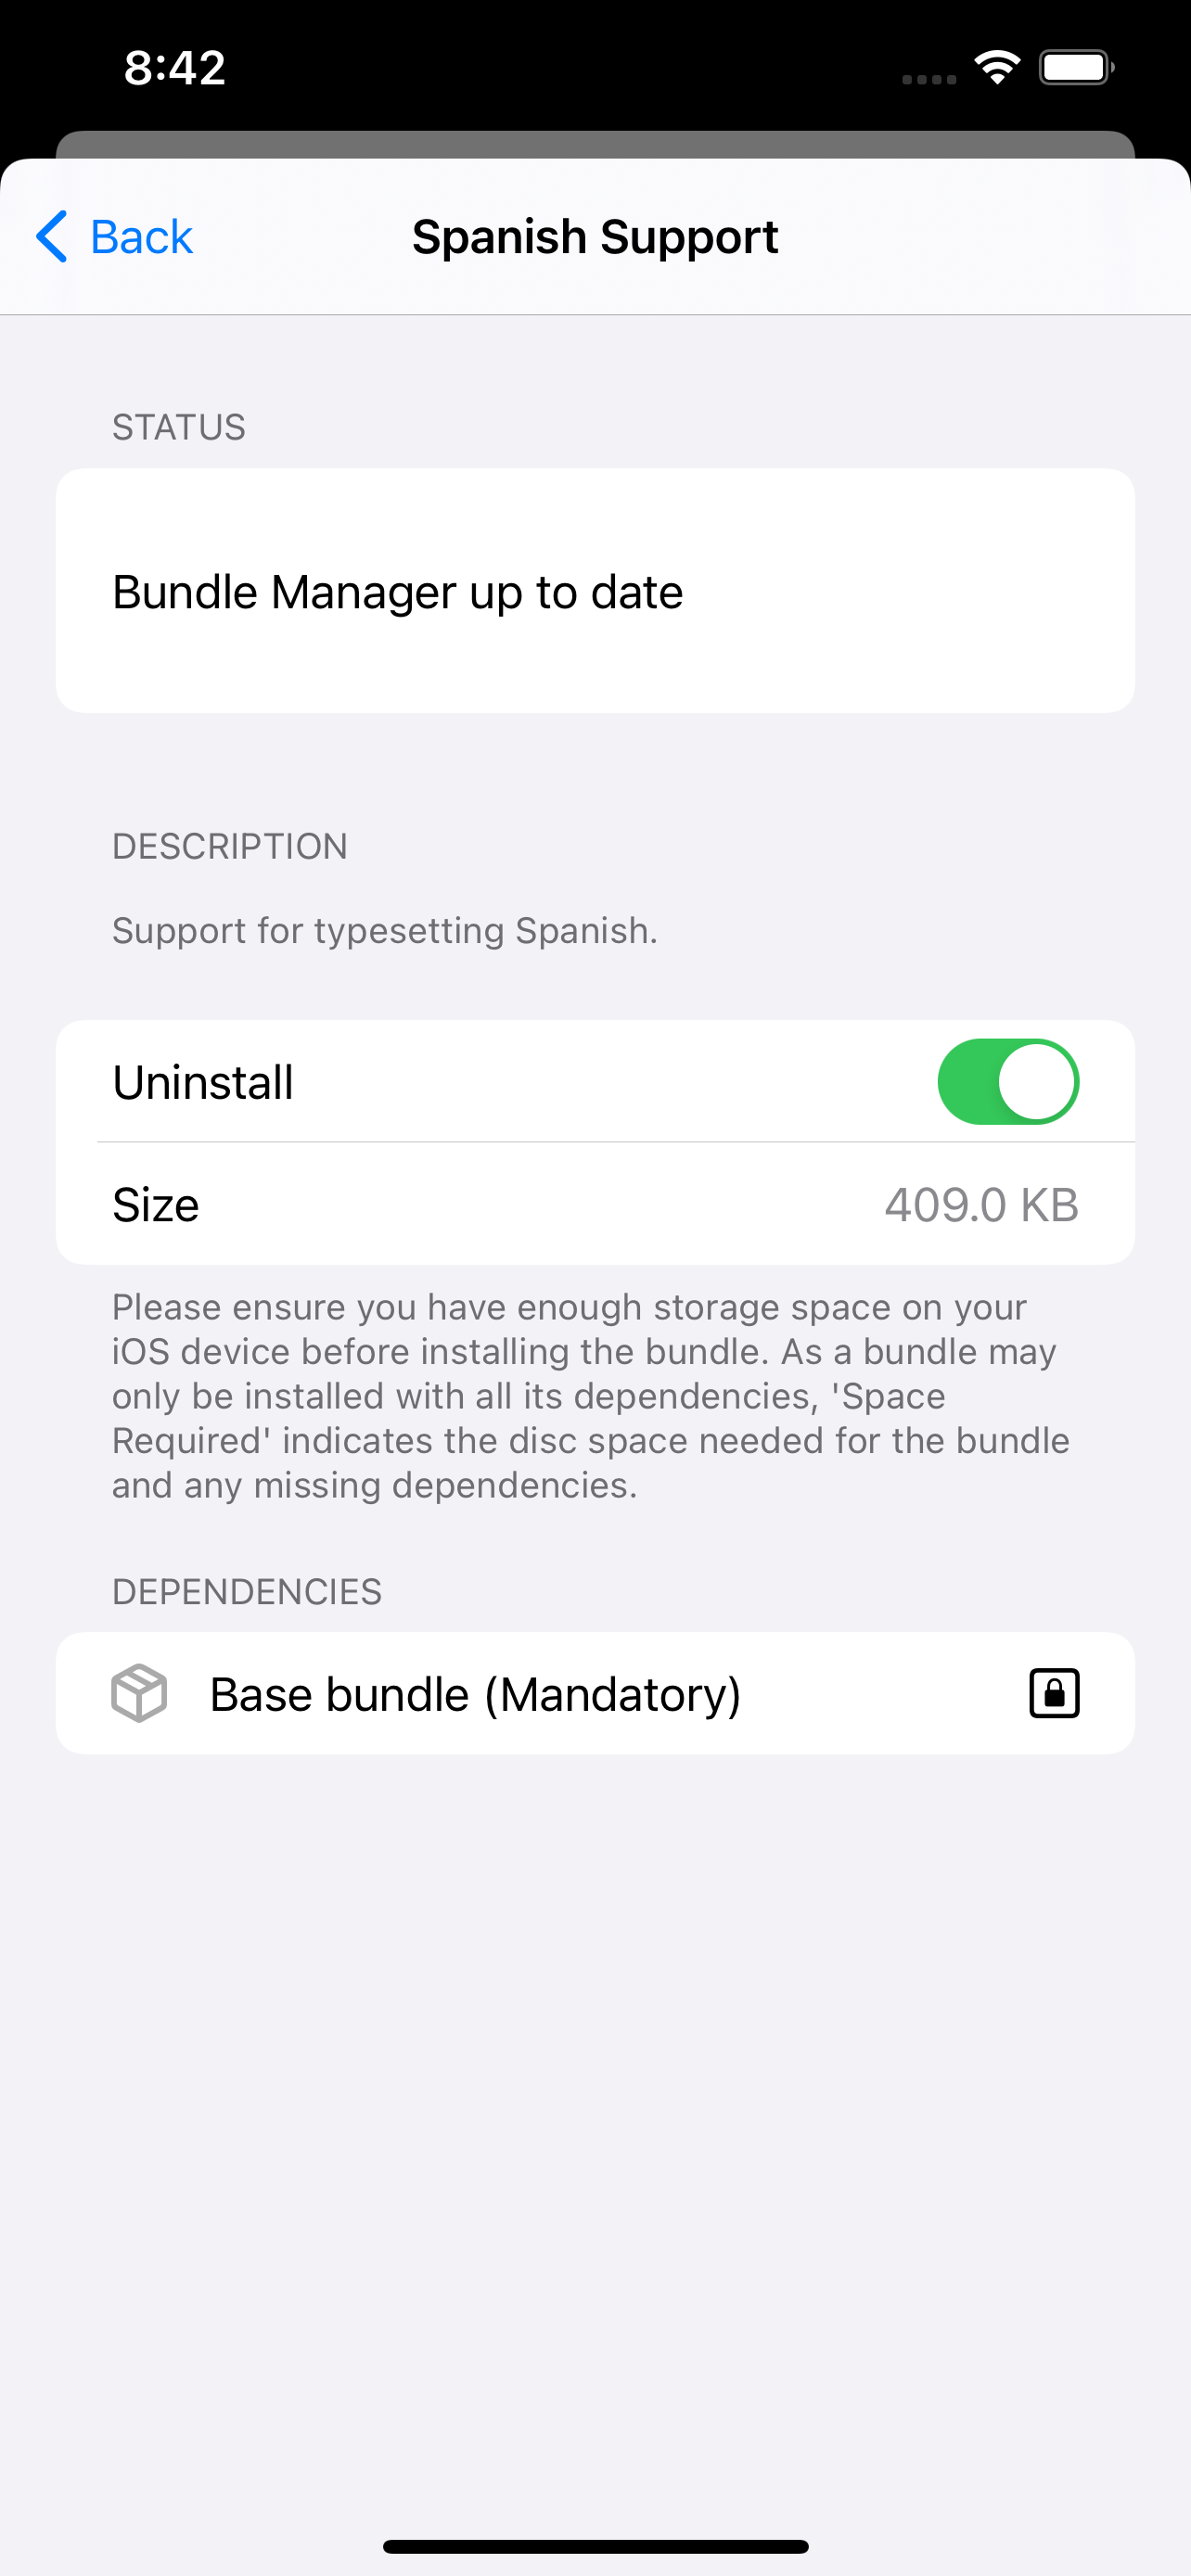
Press install and all the Spanish-related packages will be downloaded and installed on your device for Texifier to use for typesetting.

